Grand Willys Project

Go here for info on chassis construction, body work and suspensions
Post Reply
User avatar
Gojeep
Old Hand
Posts: 7219
Joined: Mon Jan 07, 2008 1:24 pm
Location: Eastern Suburbs of Melbourne
Contact:

Grand Willys Project

Post by Gojeep »

Just like to say G'day and introduce my project.
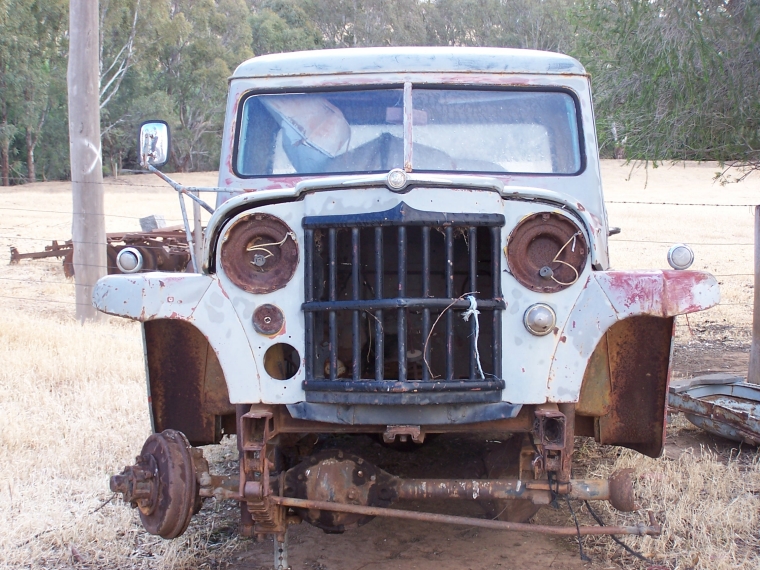
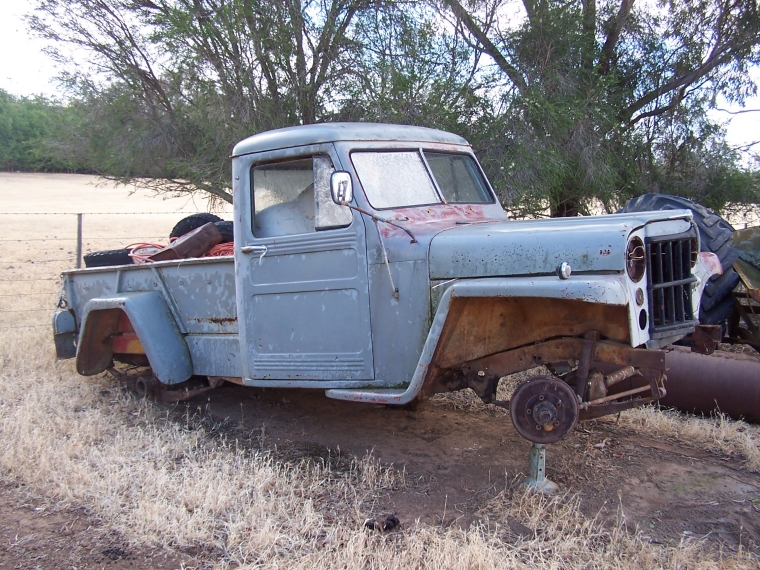
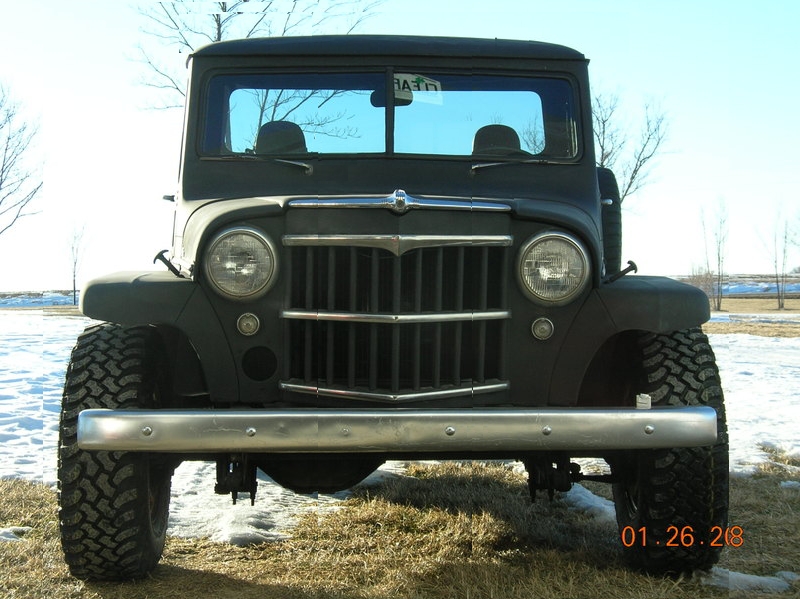
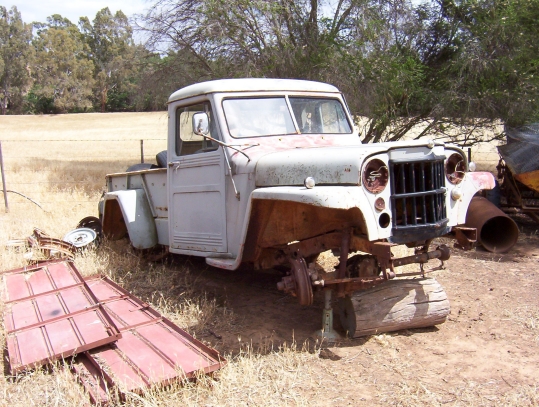
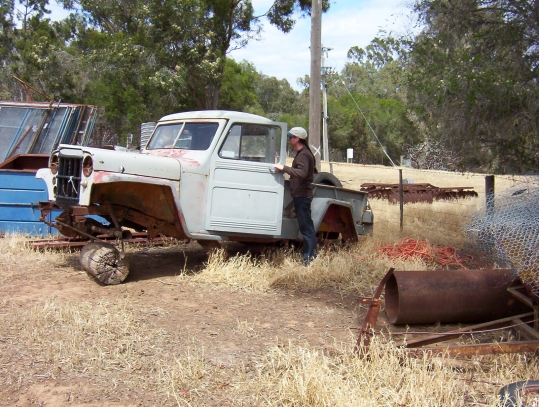
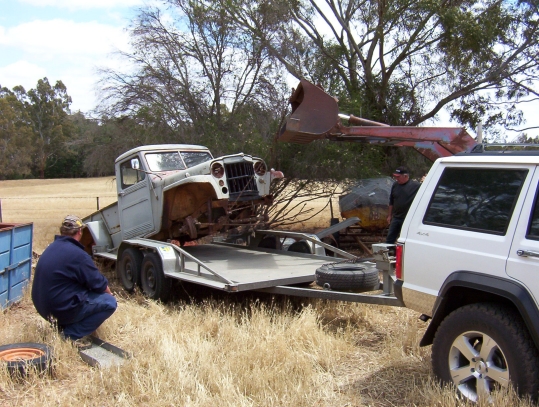
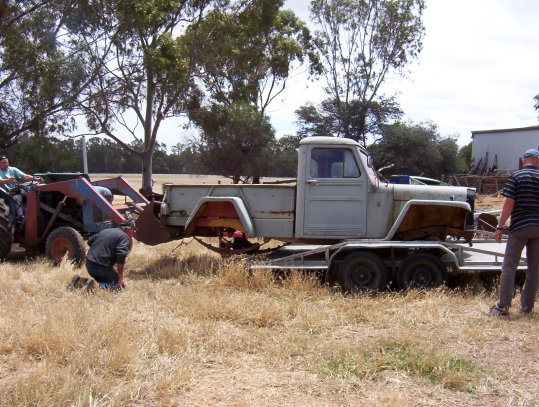
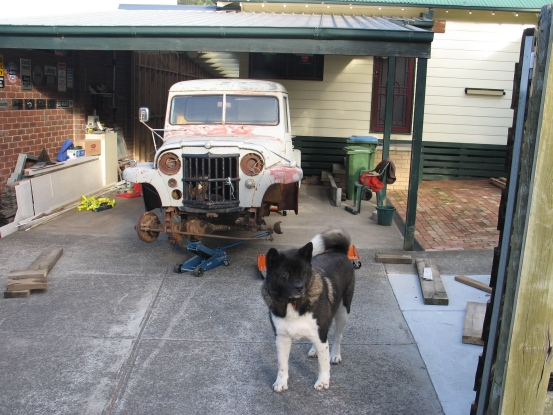
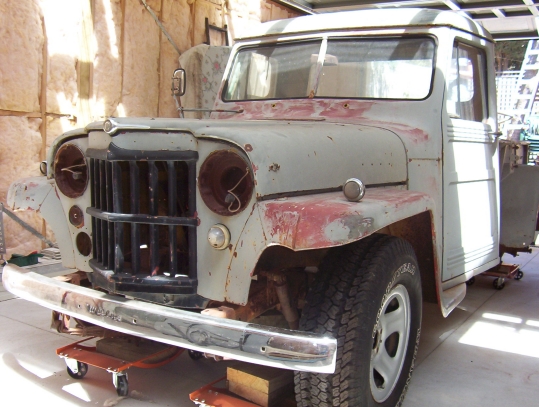
I have bought a Willys Pickup that were made from 1947 to 1965 with minor changes along the way. The one I just bought is just the body and chassis. Was looking just for a donor of the same wheelbase but after reading all the the Landcruiser chassis saga, decided it was better that I didn't :wink:
Points that I had not thought of that sealed the way I will go now was things like the police seeing the vehicle number plates are registered too something completely different to the one in front of them on the road. Don't want to go through that or loose the identity of the Willys.
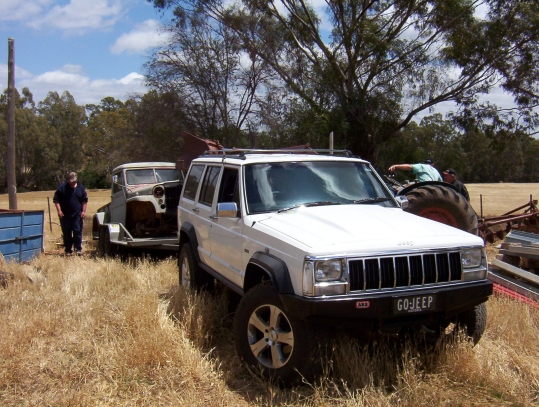
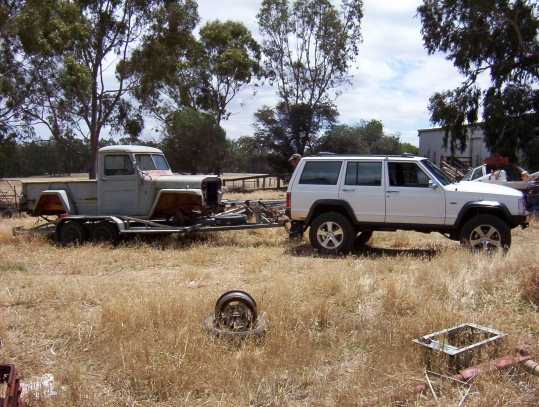
So my plans is to try and keep it brand same so looking at picking up a rolled late model Jeep and using the whole drivetrain and suspension etc from it in my old chassis.
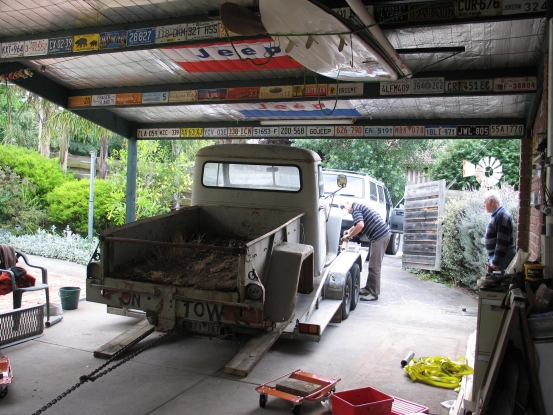
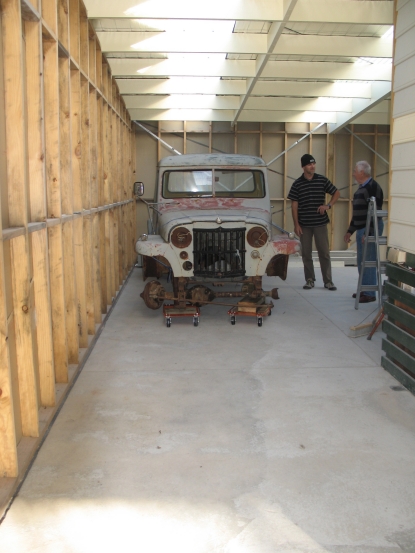
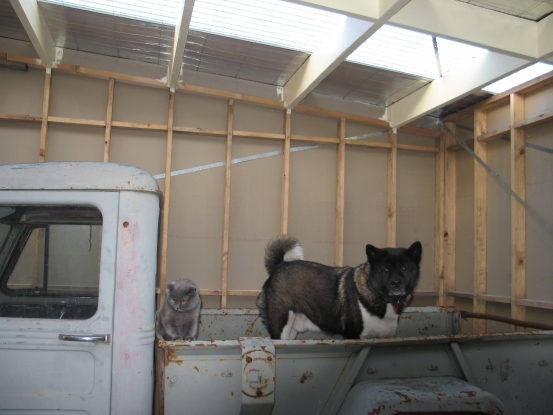
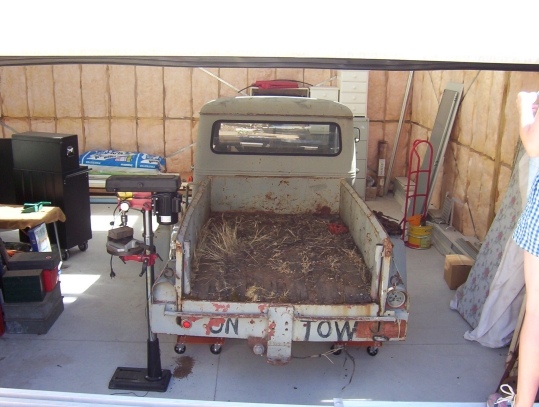
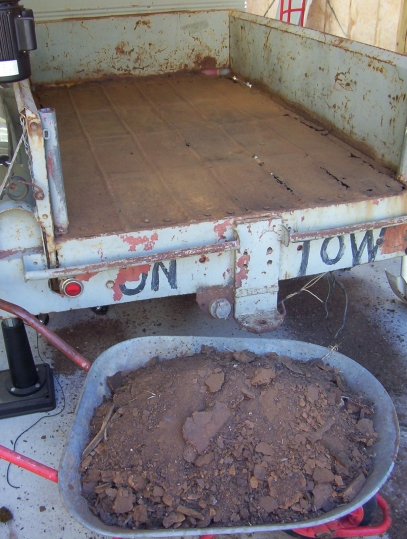
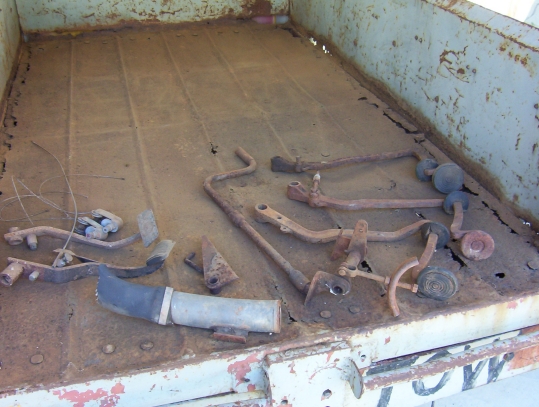
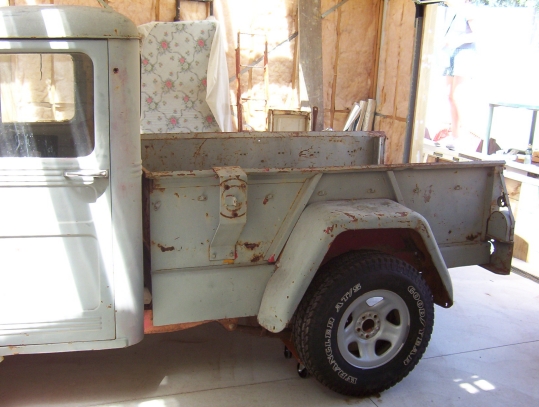
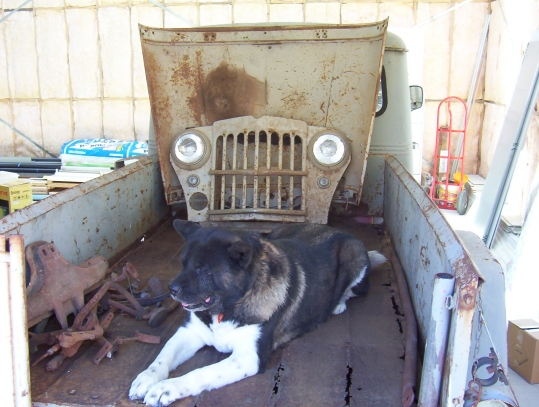
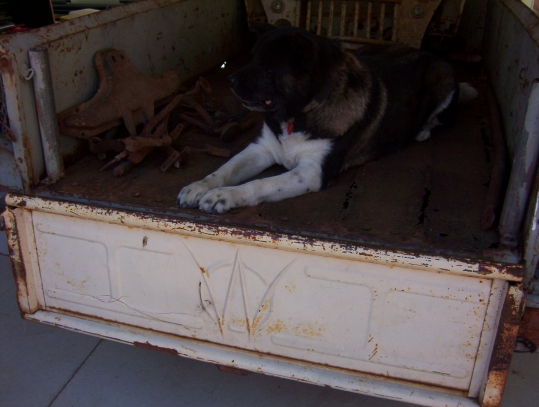
Here are some shots of the Willys still sitting in the old owners paddock while I am currently trying to build a workshop big enough to fit it in. ;) Pretty hard in a little dual occupancy dwelling!

Image

Image

Image

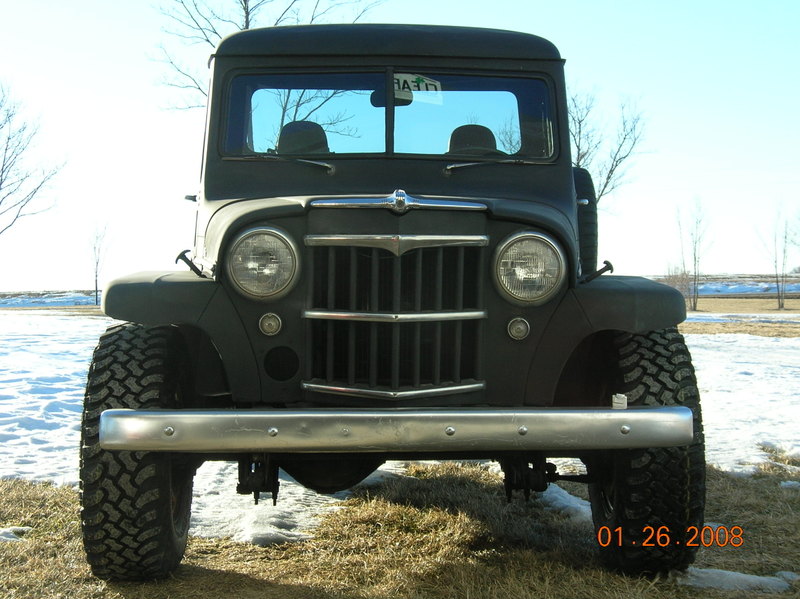
Have roof chop plans for it etc. Want to take about 2" out above the gutter line. Think you call that pancaking? My idea is to cut the roof and leave a 1/2" more than I want out in total, Then fold that horizontally to then plug weld that back into the gutters. The radius will be reduced to expand the roof to fit the original size and pie cuts made in the corners. Have not found this technique in the books I got from Graffiti yet so is this way doable? Any links to a site that has done something like this?
Last edited by Gojeep on Wed Mar 23, 2011 7:15 pm, edited 2 times in total.
Marcus

To try where there is little hope, is to risk failure.
Not to try at all, is to guarantee it!


____| \______\
|/¯\ |¯ |----O||||O
()_)-o-)¯¯()_)-o-)_)
User avatar
mgtstumpy
Old Hand
Posts: 2385
Joined: Sun Jul 16, 2006 9:28 am
Location: Brisvegas

JEEP

Post by mgtstumpy »

It's doable. Have seen this technique done is US before. Car then doesn't look chopped but roof has been flattened like you say giving a lower stance.

I'd scribe a line on the roof panel where you want to be the lowest point to be, use a straight edge 2 1/2" wide.

Then start by removing the roof panel and drilling out all the spot welds that attach it to drip rail area. Cut the roof panel off 1/2" below the scribed line and relieve the corners before running panel through a 'gennie swage' to fold it 90 degrees to form your new section that sits back down the gutter. If no access to this, someone with a pan brake may be able to assist provided sides are relatively square.

Best to cut a few pie cuts on the apex of the corners and centre of roof to keep the sides flat. The sides above the doors look fairly flat as would the section above the rear and front windows.

Drop back on and trial fit (Drip rail area), flatten front and rear sections until you have the desired shape. All you need then is possibly a few tapered inserts to be welded into corners and roof centre and 'voila', done. Weld corners before welding entire roof back on via plug welds in drip rail areas. A bit of work but worth in in the end. That's my thoughts without actually seeing the car.
User avatar
mgtstumpy
Old Hand
Posts: 2385
Joined: Sun Jul 16, 2006 9:28 am
Location: Brisvegas

JEEP

Post by mgtstumpy »

To be safe just spot weld some small light gauge RHS on diagonals to keep body square at dash level. You may not need it at top but not much extra effort to keep it square. The drip rail assembly may remain as on most rooves the turret sits down in the grove and is spot welded down.

Gennie swage is another name for a bead roller. I just use a tipping wheel to add the flange. Make sure you scribe a straight line and get someone to turn the handle as you hold the turret and follow the line, slowly. Try it on some scrap first to get the feel and idea how it bends in relation to your line.

Run a wire brush along the gutter to determine how many welds there are or drill a small 1/8" pilot hole on each spot weld. You could use those spot weld bits or just ordinary drill bits and follow with the second hole roughly the same size as spot weld itself. The spot weld drill has a small bit in the middle and essentially all it is, is a small hole saw that cuts the outside part of the spot weld effectively leaving the centre of the weld and separating the surrounding metal.

You'll get the feel as it breaks through the turret skin. No need drill all the way through but you may want to and then you can weld through the bottom of the drip rail and into your new panel. A quick grind to smooth the weld. With a little effort the turret can be removed as the welds break. A tin flat chisel from the inside may be required, space permitting. These can sometimes be a pain to break.

One trimmed and welded on, all you need to do is grind welds on corners of turret and spot welds. Sounds easy but take your time, measure twice and cut once. Grays have some good old fashioned heavy cast type tools from time to time at good prices. Only thing is too bulky, heavy to freight to Q'ld. Have seen pan breaks (folders), guillotines, bead rollers and the like. Have even seen arbour presses occasionally.

1st machine looks like a larger roller of some description

2nd looks like a power hammer of some sorts.

Great tools in the hands of an expert and can do lots of things with them. Go to http://www.metalmeet.com or http://www.allshops.org
User avatar
Gojeep
Old Hand
Posts: 7219
Joined: Mon Jan 07, 2008 1:24 pm
Location: Eastern Suburbs of Melbourne
Contact:

Post by Gojeep »

Thank you for the reply. The spot weld bits sound a lot like some sheet metal grinds I used to do for drilling thin sheet metal. Started with a standard drill bit and then rather than have the outside cutting edge sitting much lower than the centre, you used to grind from the edge downwards only leaving a small centre part to locate it in the pilot hole.
Marcus

To try where there is little hope, is to risk failure.
Not to try at all, is to guarantee it!


____| \______\
|/¯\ |¯ |----O||||O
()_)-o-)¯¯()_)-o-)_)
User avatar
Gojeep
Old Hand
Posts: 7219
Joined: Mon Jan 07, 2008 1:24 pm
Location: Eastern Suburbs of Melbourne
Contact:

Post by Gojeep »

Also decided on a roof chop as well as the pancaking the top. What my idea now is that I chop the pillars but wont rake them at all. Un-pick the roof from the gutter and then fit the top of the frame to fit like usual with extra length take from the cut down pillars. But rather than adding a strip from front to rear and across the middle of the roof panel, flatten out the roof curve to widen it out to fit the larger frame. I want the top bit to be lower as well anyway so is this feasible? Will still have to add some metal into the corners of course. What would be the best way to cut the corners so the rest can be spread?
Marcus

To try where there is little hope, is to risk failure.
Not to try at all, is to guarantee it!


____| \______\
|/¯\ |¯ |----O||||O
()_)-o-)¯¯()_)-o-)_)
User avatar
Gojeep
Old Hand
Posts: 7219
Joined: Mon Jan 07, 2008 1:24 pm
Location: Eastern Suburbs of Melbourne
Contact:

Post by Gojeep »

Afraid I still have not got this home! So in the mean time I last night played with some photos I found to at least learn to chop and paste parts of photos. So they wont be too good as not done this really before now.

Image

He is the original photo I started with that I found on the web

Image

Here I increase the width of the whole cab by a grille spacing each side which should be around the 6.5" track I will be increasing it by. These Willys have that much difference front to rear. I like the idea of the wider cab too and wont be doing pie cut style as first thought but evenly down the middle. I know it is a very non hotrod thing to do though but the extra space under the bonnet and in the cab will be great. Can get a bigger radiator in there now too.
I also added the extra set of lights below the headlights. One set will be parkers and the other the indicators. Also give some of the vertical height back into the grille.

Image

Here I have pancaked the roof above the drip rail. Now I am not sure this will be needed as might be out of proportion now with the wider cab? My wife thinks so anyway but what to others think?

Image

I played with the idea of removing the centre grille bar to give it more height but not sure if I like it now. Seemed better in my head. ;)
Marcus

To try where there is little hope, is to risk failure.
Not to try at all, is to guarantee it!


____| \______\
|/¯\ |¯ |----O||||O
()_)-o-)¯¯()_)-o-)_)
User avatar
Gojeep
Old Hand
Posts: 7219
Joined: Mon Jan 07, 2008 1:24 pm
Location: Eastern Suburbs of Melbourne
Contact:

Post by Gojeep »

How about around a 3" roof chop as well?

Image
Marcus

To try where there is little hope, is to risk failure.
Not to try at all, is to guarantee it!


____| \______\
|/¯\ |¯ |----O||||O
()_)-o-)¯¯()_)-o-)_)
User avatar
Gojeep
Old Hand
Posts: 7219
Joined: Mon Jan 07, 2008 1:24 pm
Location: Eastern Suburbs of Melbourne
Contact:

Post by Gojeep »

Got it home. :)

After a 10 hours round trip from leaving to having it sitting in the new workshop and everything packed away, it is done.

This is how we found it this morning still sitting exactly the same since we last laid eyes on it after buying it off eBay 11 months ago.

Image

This is the worse side for rust with having a bit in the bottom of the doors but quite good I think.

Image

The wife checking the passenger side which is free of rust remarkably, at least on the surface anyway. ;)

Image

To get it on the trailer with no wheels, only one hub and one spring even missing from one corner was a little different. Got the front end loader to lift the front right up while I backed the Jeep under as far as I could.

Image

With the bum of it still down and the springs buried in the dirt, I dragged it forward with it attached to the trailer winch so it would not slide back off.

Image

Got it forward enough to get the loader in from behind to lift and help push it forward while winching it at the same time. The end of the U bolts were digging into the checker plate floor so was not that smooth!

Image

Good to see 35 years of difference in Jeep age back together ready for the trip home. ;)

Image

Now we have to get it off at home without a loader. I decided to chain the back of the Willys to the house and drive forward pulling it off. My wifes brother came up with an idea of using some pipe under the U bolts which dad thought of as well. Worked well to get it to the end of the trailer.

Image

Once at the end put some timber under the springs to help it slide off the end. Once the back was down I put the rear axle on some car dollys.

Image

Lifted the front on a trolley jack and drove further forward until the front was about to come off. Did the same with some timber until if could be jacked up and the trailer driven right out and lowered down on to another pair of car dollys.

Image

So at long last it is down in the corner of the nearly finished workshop. :)

Image

Of course the dog and cat had to check it out!
Marcus

To try where there is little hope, is to risk failure.
Not to try at all, is to guarantee it!


____| \______\
|/¯\ |¯ |----O||||O
()_)-o-)¯¯()_)-o-)_)
HYPORX
Old Hand
Posts: 4851
Joined: Sat Feb 12, 2005 7:04 am
Location: Tasmania....or Holland, land of dykes :)
Contact:

Post by HYPORX »

Bet you're glad to have her home... 8)

...and that shed 8)
"Obviously your ambition outweighs your talent" Casey Stoner to Valentino Rossi. 03/04/2011
'26bits
Senior Member
Posts: 1209
Joined: Thu Oct 16, 2003 6:43 pm
Location: Shoalhaven NSW.

Post by '26bits »

Congratulations. After all the worry and effort, you have success and I'll bet there is a smile a mile wide. 8) Hope you gave your wife a celerbratory hug.
And you didn't need those axles with the BLOODY BIG WHEELS I saw at Bendigo :lol: They were off a train :shock: :lol: :lol:


Ian.
Gravity is overated. The earth Sux.

Oz-E-Rodders Rod and Kustom Club
Member#80
User avatar
Gojeep
Old Hand
Posts: 7219
Joined: Mon Jan 07, 2008 1:24 pm
Location: Eastern Suburbs of Melbourne
Contact:

Post by Gojeep »

Thanks for the comments guys. I do have a smile a mile wide and having trouble finishing off the workshop as just keep looking at it to see if all the ideas in my head over the last 11 months will even work. ;)

Seen the other Willys above on eBay a little while ago. Dont know if the Chevy step side suits it though. Not looking at building anything like that though as I have been and done that already over the years. Time to go low and mean instead this time. ;)
Marcus

To try where there is little hope, is to risk failure.
Not to try at all, is to guarantee it!


____| \______\
|/¯\ |¯ |----O||||O
()_)-o-)¯¯()_)-o-)_)
User avatar
compact
Old Hand
Posts: 4350
Joined: Tue Jan 31, 2006 8:01 pm
Location: Mt Gambier SA

Post by compact »

well done mate....nothing like a good road trip

looking forward to the build pics :D
User avatar
Gojeep
Old Hand
Posts: 7219
Joined: Mon Jan 07, 2008 1:24 pm
Location: Eastern Suburbs of Melbourne
Contact:

Post by Gojeep »

Been away looking around SE Asia, and the first thing I did when I got back was to check the Willys in the Workshop even before dropping the bags inside the house! Pity I still have so many things to do before I can start on it. Did however give it a bit of a clean up using the excuse I cant store stuff in it while it was that filthy until I get my shelving done. ;)

Image

Didn't look to bad before I started I thought.

Image

But I didn't even know there was a steel floor under the timber planking! This barrow showed only some of the dirt etc that came out of it!

Image

There were some of the original through the floor pedals there as well as the original wiper pivots and crank handle I suspect?

Image

The cab floor was pretty good. Only about 4 small holes with the biggest you still could not get your pinky through.

Image

Had to try what the spare tyre from the trailer looked like under it. Not bad at this height but that is a 30" tall tyre and not sure if I will be going that big yet.

Image

Dropped the bumper I imported already from the US over the front of the chassis rails. They normally sit way further forward than this but quite like the look of it like that. It also has 'Willys' pressed into the centre of it.

Image

Tried the wheel on the back too but that has to come down some. It is only sitting on the wheel skates right now. A quick measurement shows the chassis rising 9"-10" from the low point under the cab. Hope that will be enough kick up to get it lower still?

Image

The dog feels right at home in the back already. Pity he wont be around by the time it is finished. :( It also shows the spare wagon grille and bonnet that was inside the cab that I didn't know about until I picked it up!

Image

This is the tailgate I brought over from the US as well. I got one from there as it has the 'W' 'O' stamped in the middle for the Willys Overland company. Should look good when I build a new rear bed for it.

Cant wait to get started on it. Still on the look out for another one like this but with the small rear window. Also after a wreaked 300C for a donor!
Marcus

To try where there is little hope, is to risk failure.
Not to try at all, is to guarantee it!


____| \______\
|/¯\ |¯ |----O||||O
()_)-o-)¯¯()_)-o-)_)
User avatar
jeffa
Old Hand
Posts: 4476
Joined: Thu Sep 18, 2003 4:50 pm
Location: Canberra, Australia! Best country on the planet!

Post by jeffa »

Nice!

Looks good with the wheels and bumper. And that cab looks in great condition.
I can see some pinstriping going on that tail gate :wink:
Why wont the dog be around? It should take too long to finish should it?
Yeah. I've changed my signature. The old one was out of date...
What if climate change IS a hoax, and we make a better world for nothing?
User avatar
Gojeep
Old Hand
Posts: 7219
Joined: Mon Jan 07, 2008 1:24 pm
Location: Eastern Suburbs of Melbourne
Contact:

Post by Gojeep »

I am building this as a hobby. So will be taking my time and if it takes 10 years, so be it. :)
Last edited by Gojeep on Thu Jul 22, 2010 6:37 pm, edited 1 time in total.
Marcus

To try where there is little hope, is to risk failure.
Not to try at all, is to guarantee it!


____| \______\
|/¯\ |¯ |----O||||O
()_)-o-)¯¯()_)-o-)_)
Post Reply